
Introduction
Imagine a hot summer afternoon, where the sun’s rays are relentless and all you crave is a fun, chilled treat that’s both satisfying and easy to make. Enter the delightful world of ice cream in a bag. This ingenious recipe not only quenches your thirst for a creamy dessert but also offers a hands-on experience that’s perfect for kids and adults alike. Originating as a simple ice cream making method, this recipe employs the salt and ice method, making it an exciting hands-on cooking activity for kids. No ice cream maker? No problem! This homemade ice cream recipe makes it possible to create a delightful vanilla ice cream in a bag without any special equipment. So, let’s dive into the world of DIY frozen treats!
Ingredients
For our creamy vanilla in a bag, you’ll need the following: You can learn more about this topic.
- Wet Ingredients:
- 1 cup of heavy cream
- 1 cup of whole milk
- 1/2 cup of granulated sugar
- 1 teaspoon of pure vanilla extract
- Additional Ingredients:
- Ice cubes (enough to fill a gallon-sized bag halfway)
- 1/3 cup of rock salt
- Tools Needed:
- 1-quart resealable plastic bag
- 1-gallon resealable plastic bag
- Kitchen towels or oven mitts (to protect your hands from the cold)
Steps / Instructions
- In the 1-quart resealable bag, combine the heavy cream, whole milk, granulated sugar, and vanilla extract. Seal the bag tightly, ensuring there are no leaks by double-checking the seal.
- Remove as much air as possible from the bag before sealing to enhance the freezing effect.
- In the gallon-sized bag, add the ice cubes and sprinkle the rock salt evenly over the ice. The salt will lower the melting point of the ice, creating a super-cold environment that will aid in freezing the ice cream mixture.
- Place the sealed quart bag into the larger gallon bag filled with ice and salt. Seal the larger bag tightly to prevent any leaks.
- Wrap the bag in a towel or use oven mitts, then begin to shake the bag vigorously. Shake for approximately 5 to 10 minutes, or until the mixture in the smaller bag becomes thick and creamy. The more energy you put into shaking, the faster your ice cream will form.
- Once thickened, carefully remove the smaller bag from the ice and salt, and rinse it quickly under cold water to remove any salt residue that may be on the outside.
- Open the small bag and scoop your homemade ice cream into bowls. Enjoy immediately for a soft-serve texture, or place in the freezer for an additional 30 minutes if a firmer ice cream is desired.
Conclusion
Creating ice cream in a bag is an exciting adventure that transforms a quick ice cream snack into a fun summer treat. This recipe is not only a delicious kid-friendly dessert but also an engaging beginner ice cream making project. Imagine all the variations you could try, from chocolate chips to fruit toppings, letting your creativity flow. For more no-churn ice cream ideas, dive into other delightful recipes like our Fried Ice Cream. Don’t hesitate to experiment and share this experience with family and friends. Whether it’s a family gathering or a personal indulgence, this family-friendly ice cream recipe promises satisfaction with every creamy scoop. Embrace the simplicity and joy of how to make ice cream at home with this easy, delightful method. Check out our related guide for more tips.
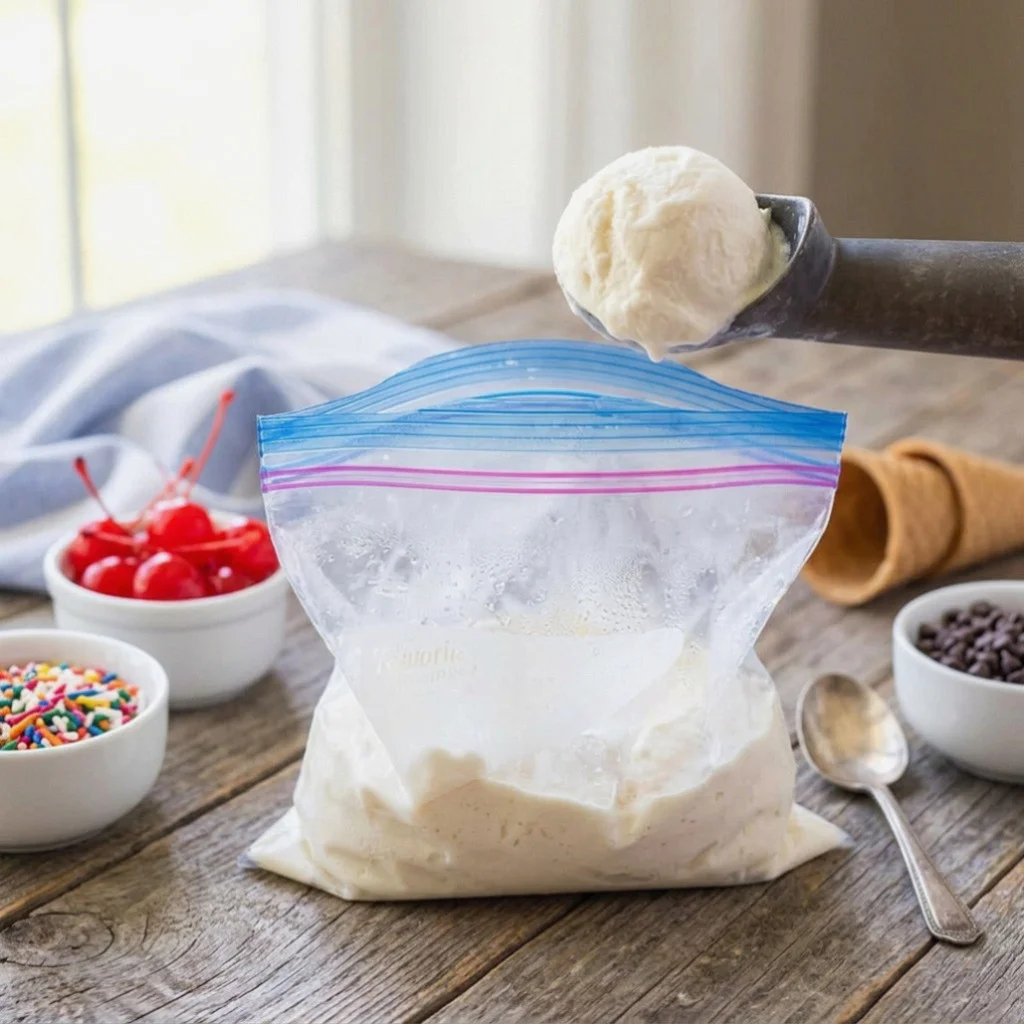
Ice Cream in a Bag
Ingredients
- •1 cup of half-and-half
- •2 tablespoons of granulated sugar
- •1/2 teaspoon of pure vanilla extract
- •4 cups of ice cubes
- •1/2 cup of kosher salt
- •Chocolate syrup
- •Crushed nuts
- •Fruit slices
- •Sprinkles
Instructions
Recipe Reviews
Leave a Reply
Your email address will not be published. Required fields are marked *